Step 1
Set Up User Backpacks
Backpack™ accounts help users store and manage digital resources. Users can:
Users can create their own Backpacks through self-registration, or you can create Backpacks for them within your MackinVIA Administrator account, either individually or through an import of user data. Alternatively, we can work with you to automate Backpack creation through a free integration with your user management system or library catalog.

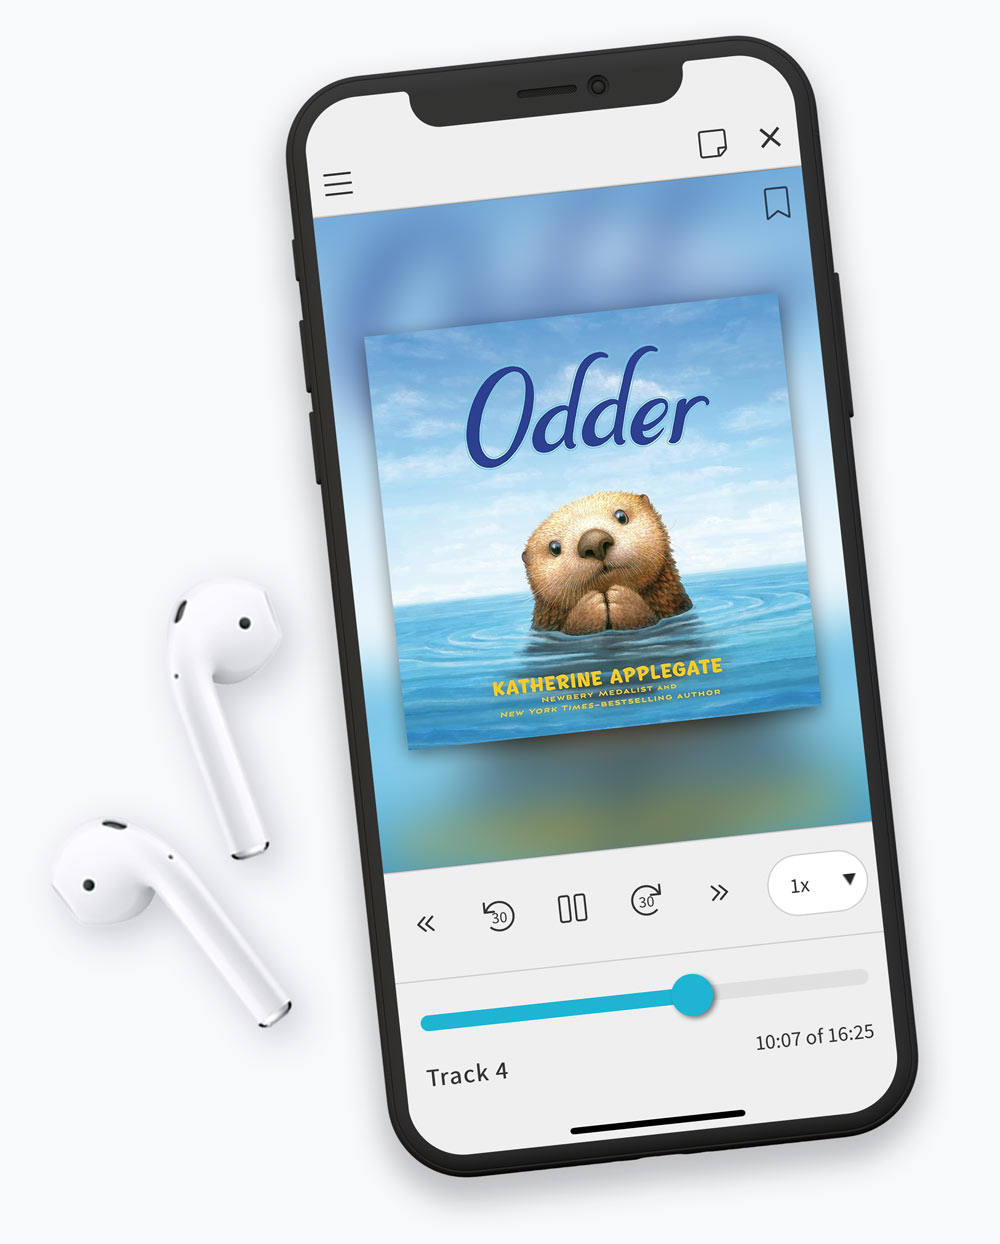
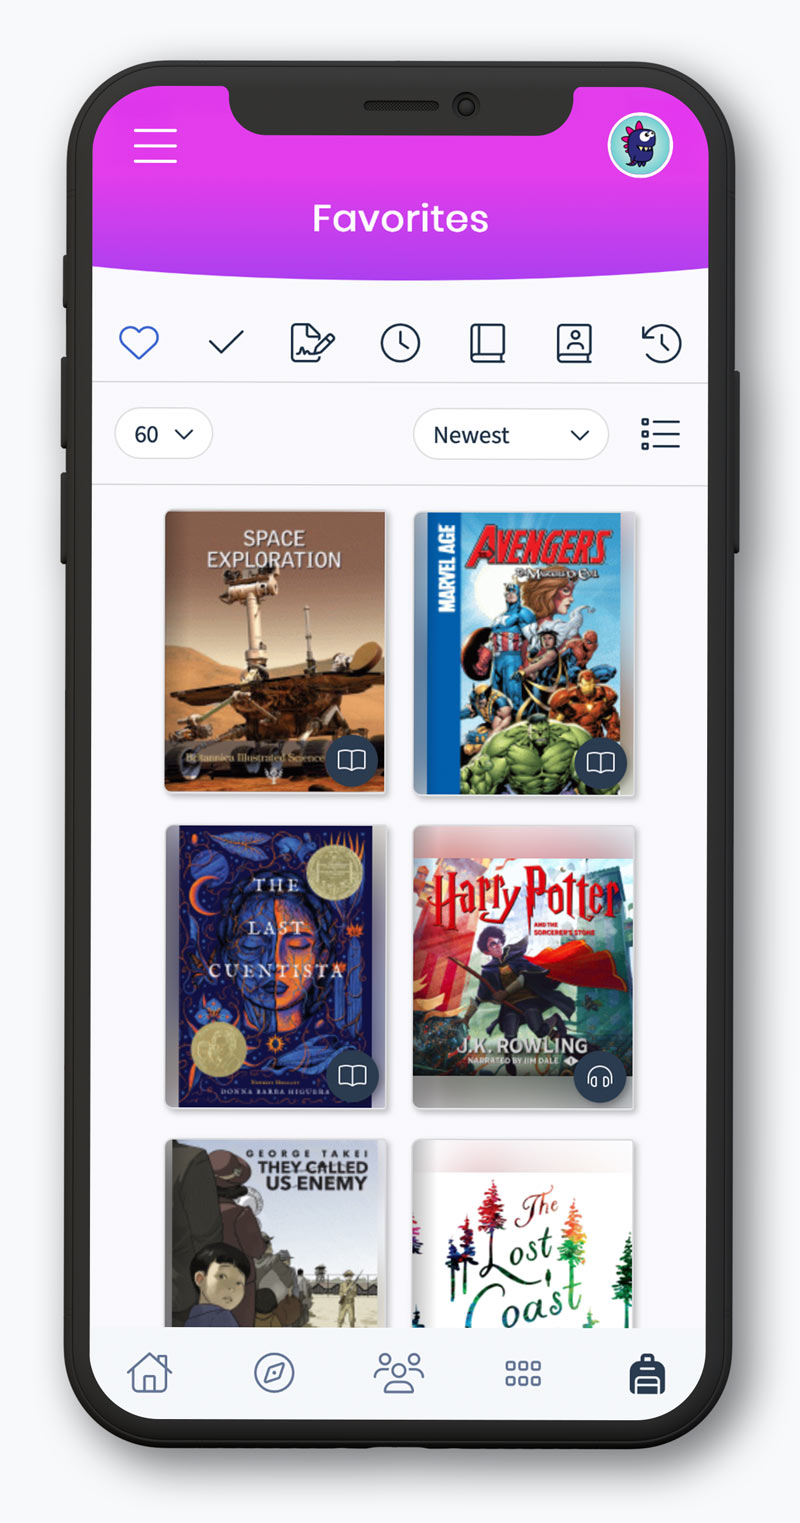
Student Backpack

Administrator Backpack Management
Step 2
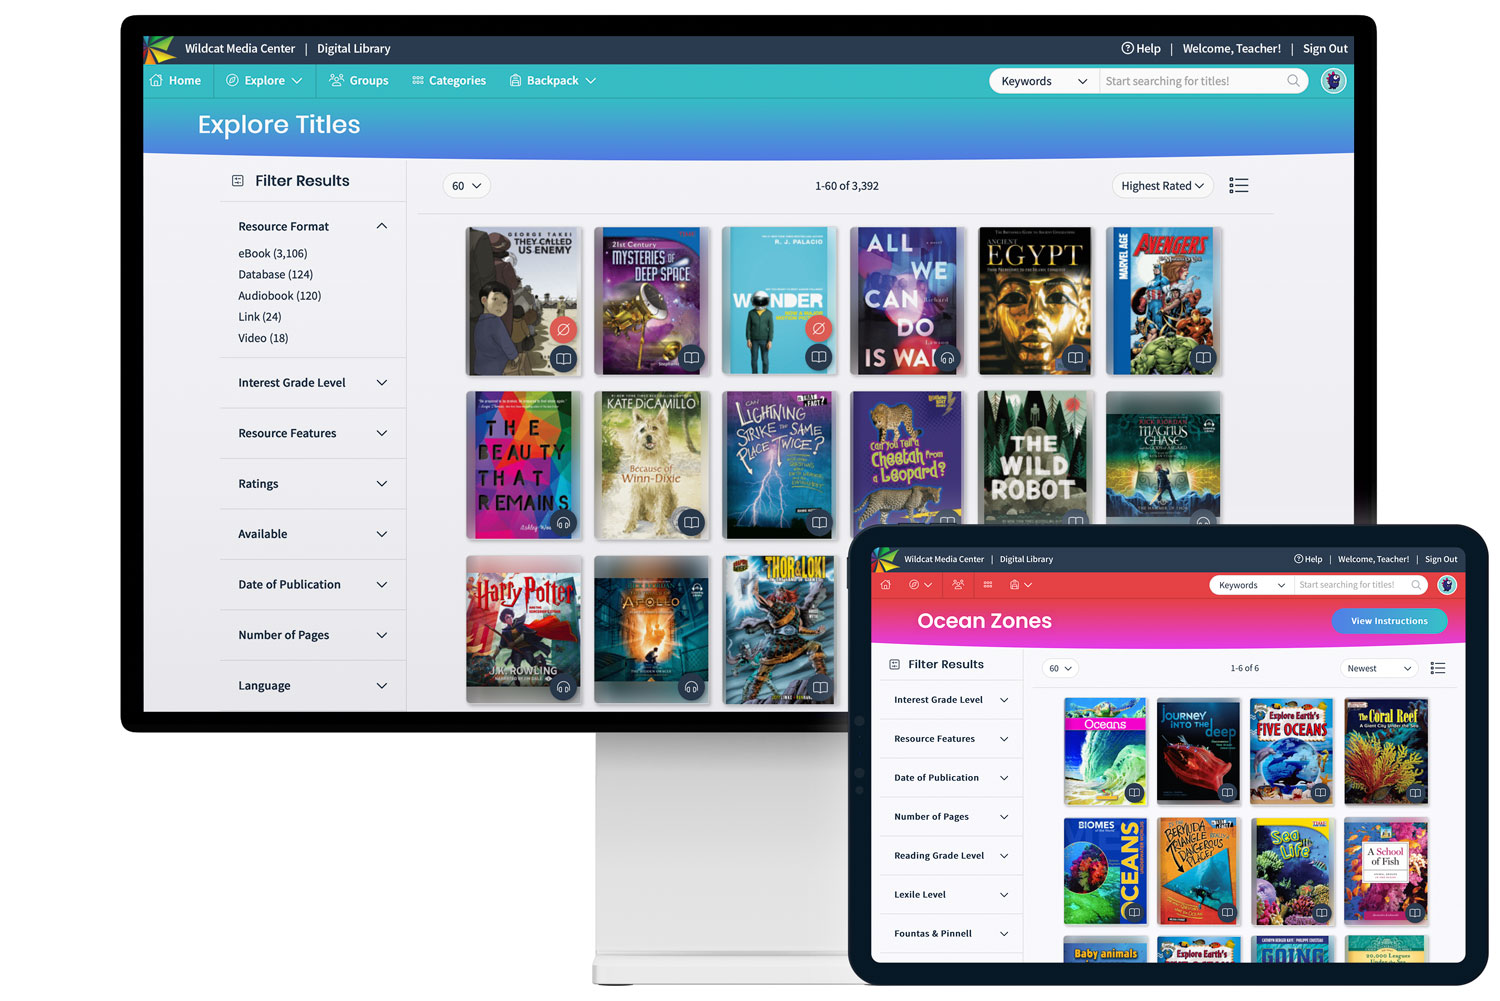
Add Your Existing Digital Content to Our Open Platform
A unique feature of MackinVIA is that you are able to bring your own license. Add your existing digital content using the Add New Resource tool in your MackinVIA Administrator account, or request a migration from Mackin’s Digital Services team. With the initial purchase of digital resources from Mackin, your first migration is complimentary. Please see our Migration Policy for more information.
Step 3
Get to Know Your MackinVIA
Here are some links to help you learn the in’s and out’s of MackinVIA.
Request a live demo from our MackinVIA experts!
Step 4
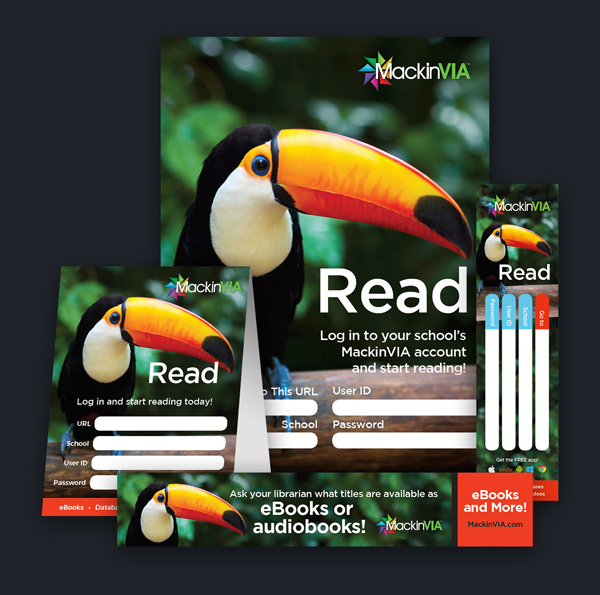
Promote MackinVIA to Students and Staff
We’ve put together these packages to help spread the word about MackinVIA to your fellow educators, students, and their parents! Each themed package includes:
- Poster
- Bookmark
- Shelf marker
- Stickers
Want to download these files individually? Visit our Free Print Resources page!
Step 5
Add Additional Content: eBooks, Databases, Webpages, and More!
With over 3 million digital titles to choose from, you can be sure to find everything you need. Here are some links to help you get started.